
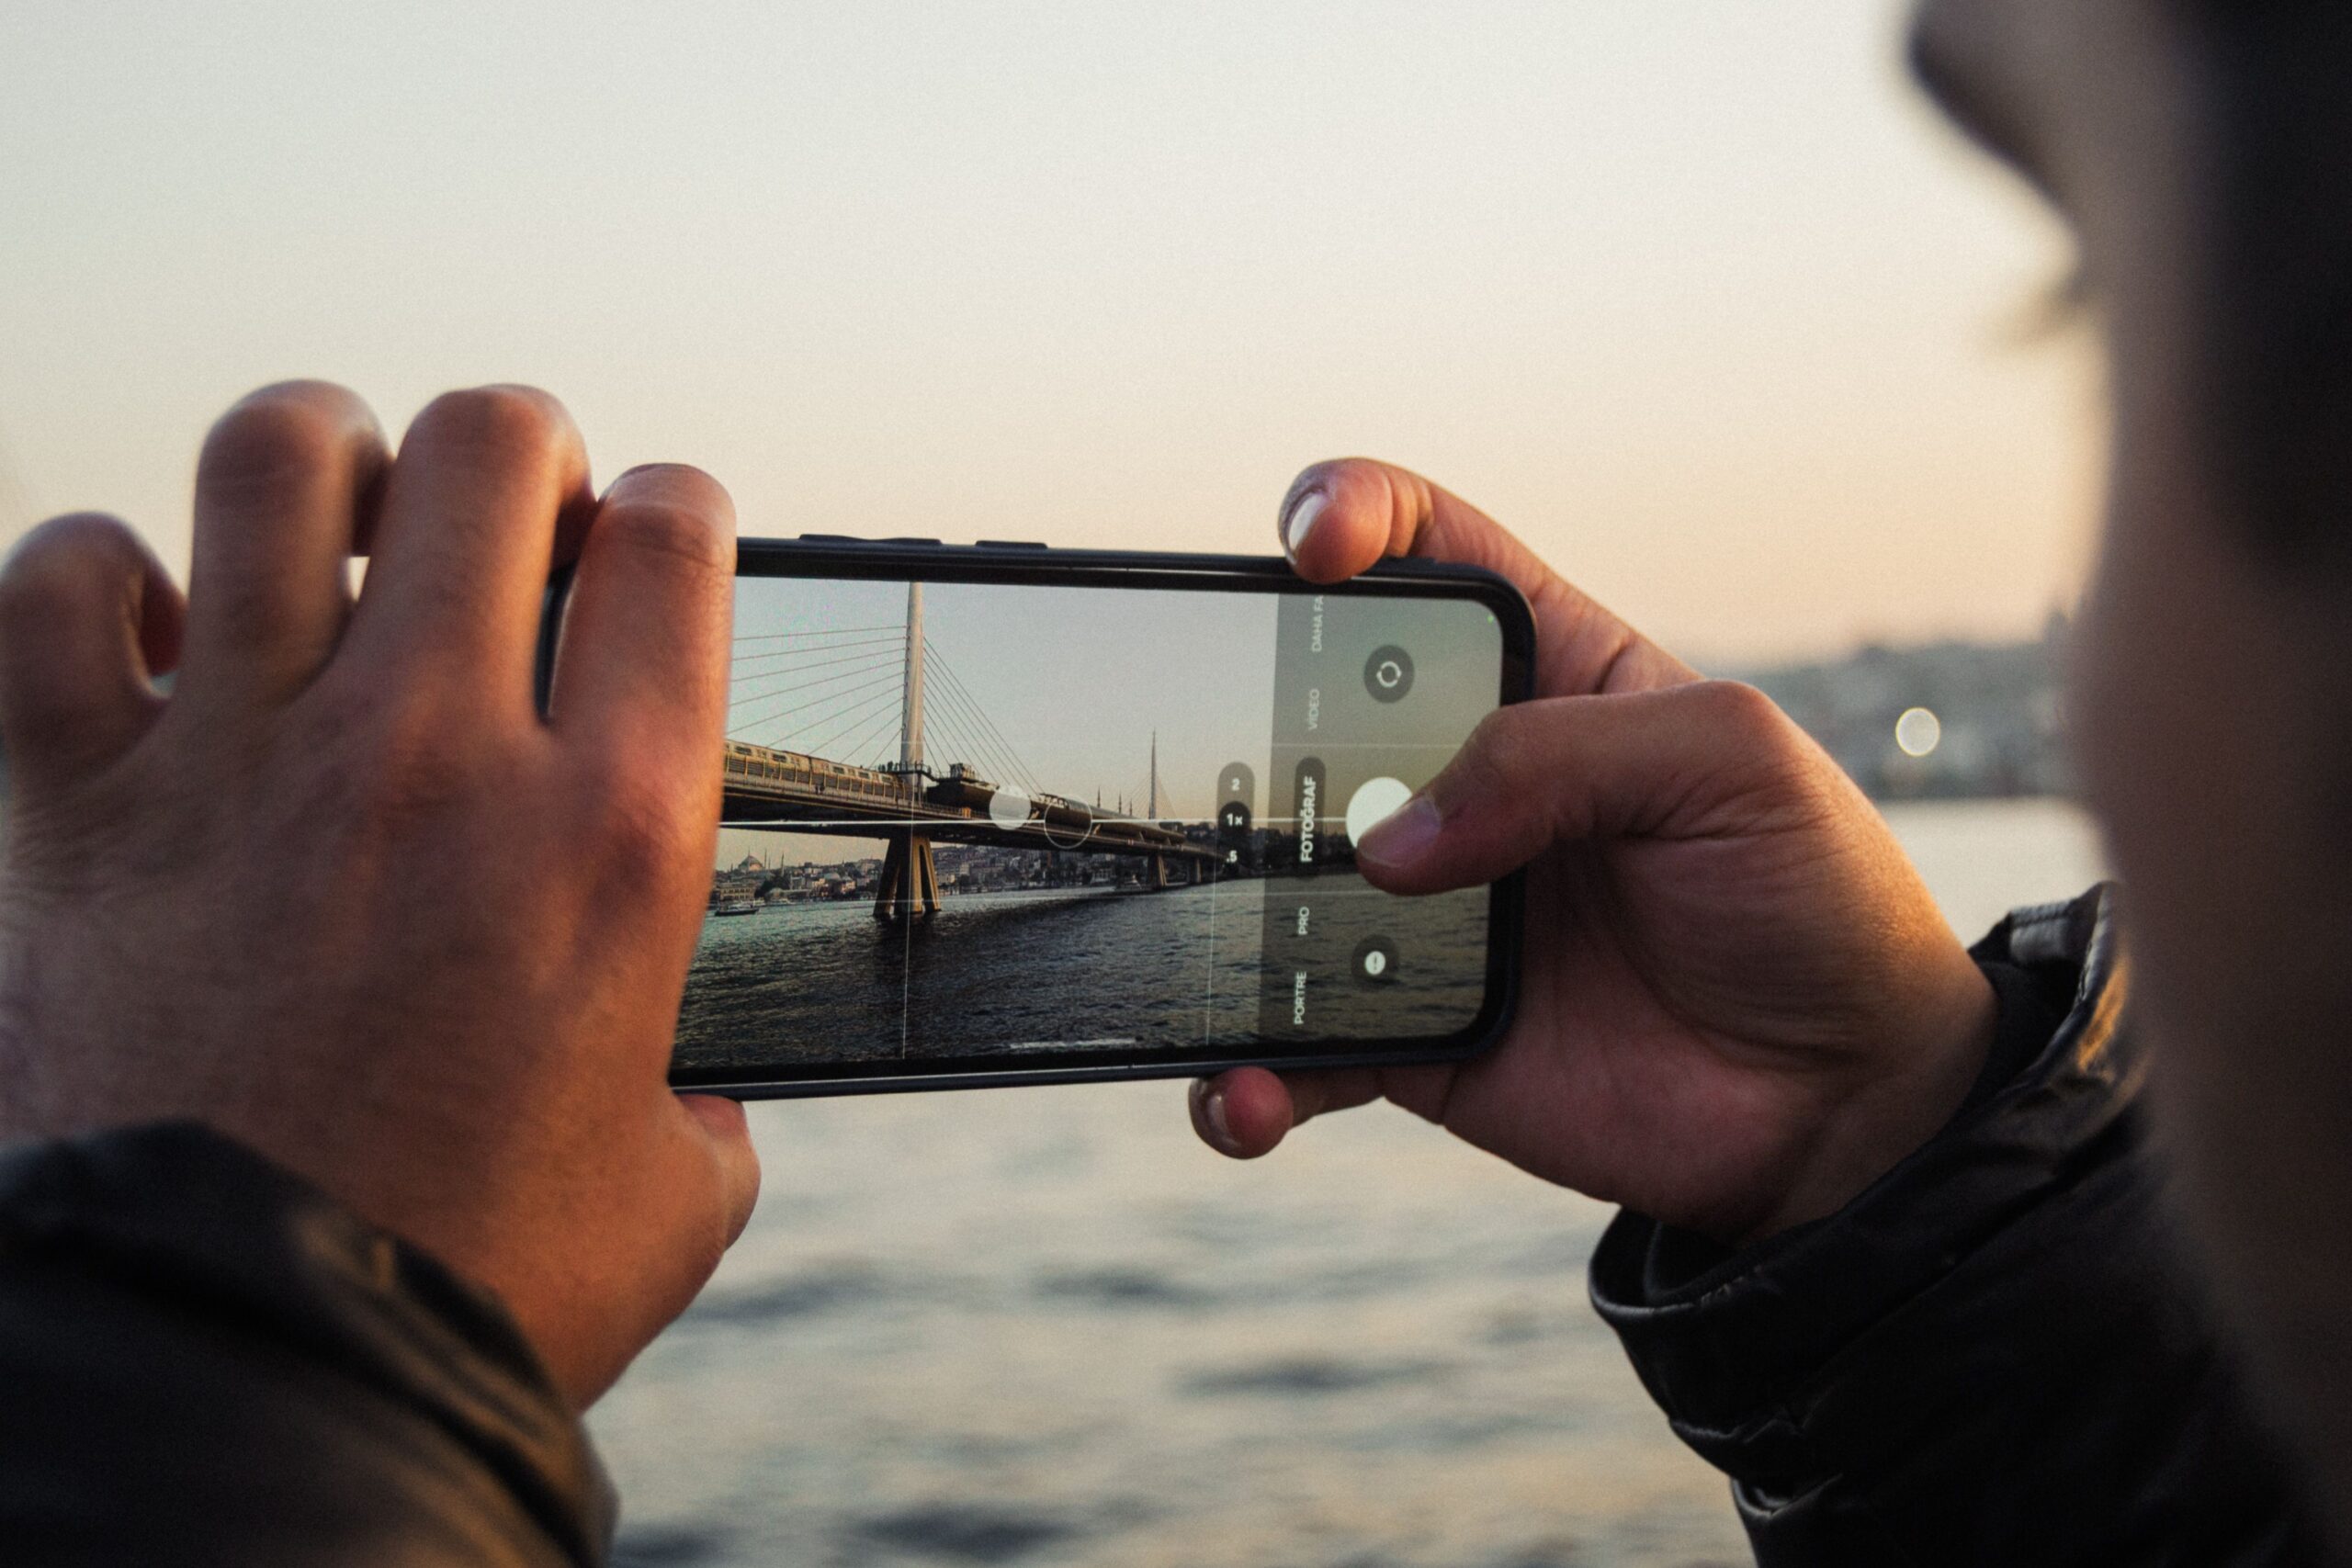
Your smartphone is already a powerful camera, yet most people only tap into a fraction of its potential. The best part? You don’t need an expensive DSLR to take photos that wow. With the right techniques, settings, and a bit of creativity, your phone can produce stunning, professional-quality images.
This guide will walk you through everything—from mastering camera settings to composition, accessories, and editing. By the end, you’ll see your smartphone in a whole new light.
Mastering Your Smartphone Camera Settings
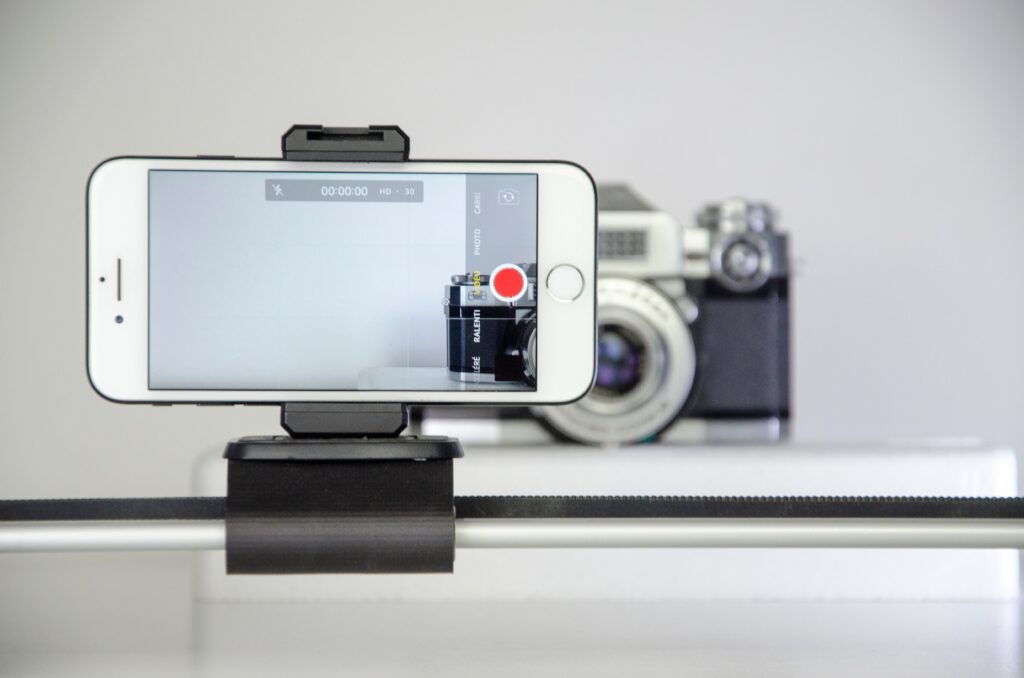
First, get familiar with your phone’s camera app. Many smartphones offer manual controls for focus, exposure, and white balance, which can significantly improve your photos.
- Focus and Exposure: Tap the screen to set your focus, and adjust brightness by sliding up or down.
- White Balance: Manually adjust this to avoid unnatural orange or blue tones, especially under artificial lighting.
- Shooting Modes: Use features like Portrait Mode for background blur, Night Mode to brighten low-light scenes, or Burst Mode to capture fast-moving subjects.
For even more control, try a third-party app like Halide (iOS) or ProCamera (Android). These apps give you access to advanced settings like ISO, shutter speed, and manual focus, turning your phone into a DSLR alternative.
Key Photography Principles for Better Shots
Good photos depend more on your technique than your gear. Here are some essential principles to elevate your smartphone photography.
Composition That Works
- Rule of Thirds: Turn on your camera’s grid and place your subject at one of the four intersection points for a balanced, dynamic image.
- Leading Lines: Use paths, roads, or other natural lines to guide the viewer’s eye into the frame.
- Symmetry: Reflections, architecture, and patterns create striking symmetrical shots—perfect for centering your subject.
Mastering Lighting
Lighting is crucial to great photography. Natural light is ideal, and the golden hour—just after sunrise or before sunset—delivers soft, warm tones. Avoid harsh midday sun, which creates strong shadows and overexposed highlights. If shooting in bright conditions, find shade or position the light source behind your subject for a flattering backlit effect.
Experiment with Angles
Most people shoot at eye level. Instead, try new perspectives—get low for dramatic foregrounds, shoot from above for flat-lay effects, or find an unusual angle to make your shot stand out.
Accessories to Enhance Your Phone Photography
A few affordable tools can take your photos to the next level:
- Clip-on Lenses: Wide-angle lenses expand your view, macro lenses capture tiny details, and telephoto lenses bring distant subjects closer.
- Tripods and Stabilizers: A mini tripod ensures stability for sharper photos and long exposure shots, while a gimbal stabilizer is perfect for smooth video.
- Portable Lighting: A small LED panel or ring light helps you control lighting in any setting, ideal for portraits or product shots.
Editing: Where the Magic Happens
Editing can turn a good photo into a great one. Here are some free apps to try:
- Lightroom Mobile: Powerful and user-friendly, with a range of professional editing tools.
- Snapseed: Versatile, with selective adjustments to edit specific areas of your image.
- VSCO: Perfect for creating a consistent aesthetic with film-inspired presets.
Basic Edits
- Crop for stronger composition.
- Adjust exposure, contrast, and sharpness to make the image pop.
- Use the dehaze tool to clear up foggy or flat images.
Advanced Edits
Once you’ve mastered the basics, try color grading to fine-tune hues and tones for a unique look. Use selective adjustments to brighten specific areas, and save presets in Lightroom for a consistent, polished style across your photos.
Creative Techniques to Try
Long Exposure
Set your phone on a tripod and use a slow-shutter app to capture light trails, smooth waterfalls, or starry night skies. The results are magical and never fail to impress.
Macro Photography
With a macro lens, you can capture stunning close-ups of flowers, textures, or tiny details that are invisible to the naked eye.
Creating Bokeh
Bokeh—the dreamy, blurred background effect—makes your subject stand out. Use Portrait Mode for this, or achieve it manually by placing your subject close to the camera with a distant background.
Tips for Specific Photography Styles
- Landscape Photography: Shoot during golden hour, use a tripod, and follow the rule of thirds. Add depth with an interesting foreground.
- Portraits: Look for soft, natural light, and position your subject at a slight angle for a flattering pose. Use Portrait Mode to blur the background.
- Food and Product Shots: Use natural light from a window, keep the setup clean and minimal, and shoot from above for an editorial-style flat lay.
When to Upgrade to a DSLR
Your smartphone can handle most photography needs. However, if you want more control, higher resolution, or specialized features for low-light or action shots, investing in a DSLR might be worth considering.
With these tips and tools, your phone can rival professional cameras, letting you capture scroll-stopping shots anytime, anywhere. Start experimenting and see what your smartphone can really do!